Holiday Storage Solutions for Retailers
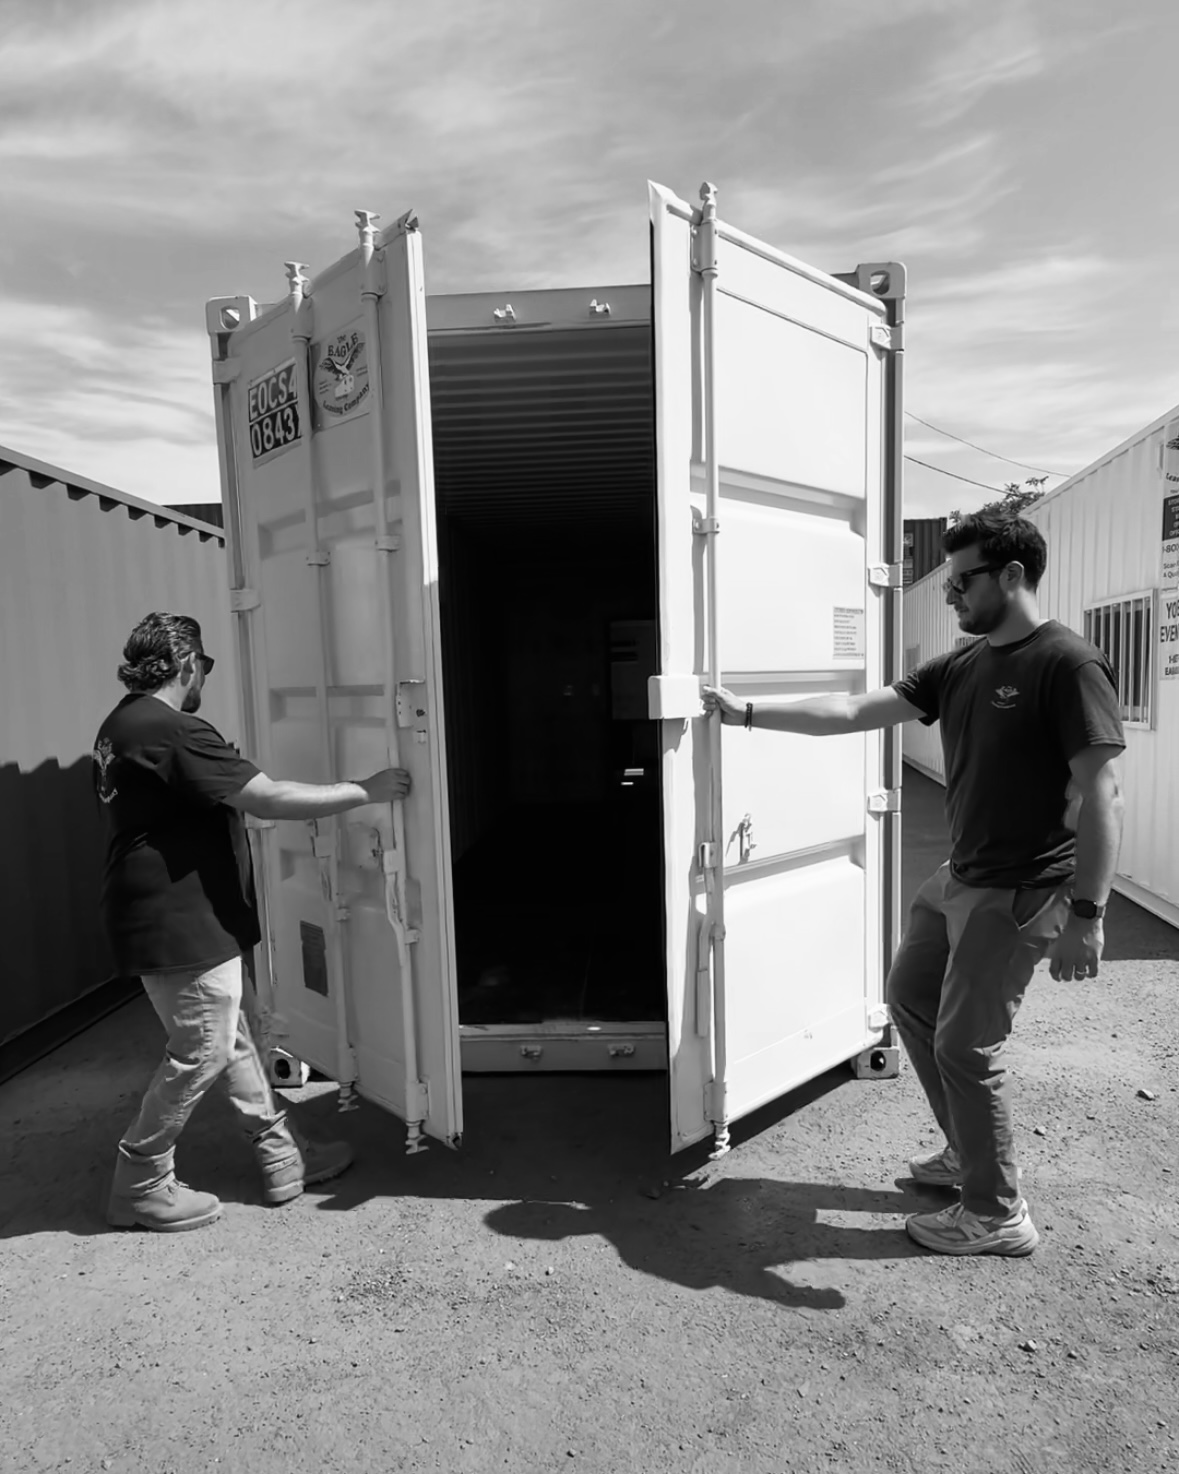
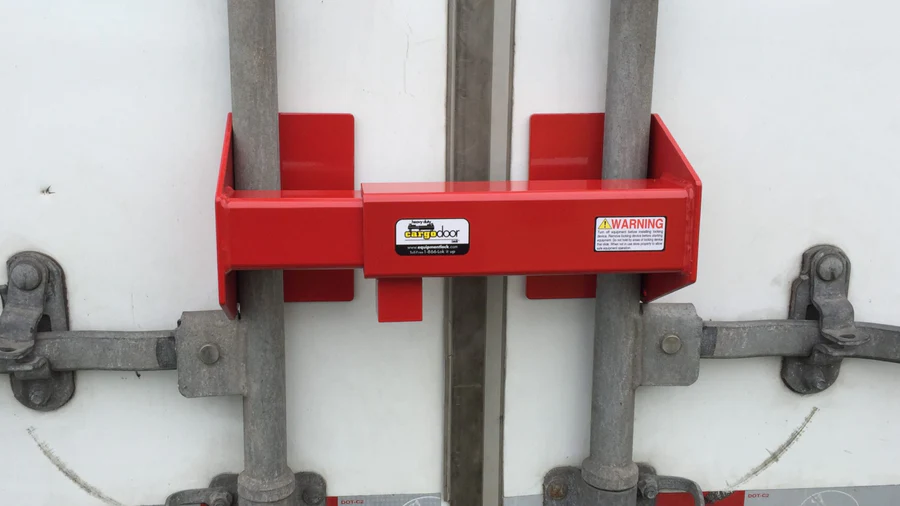
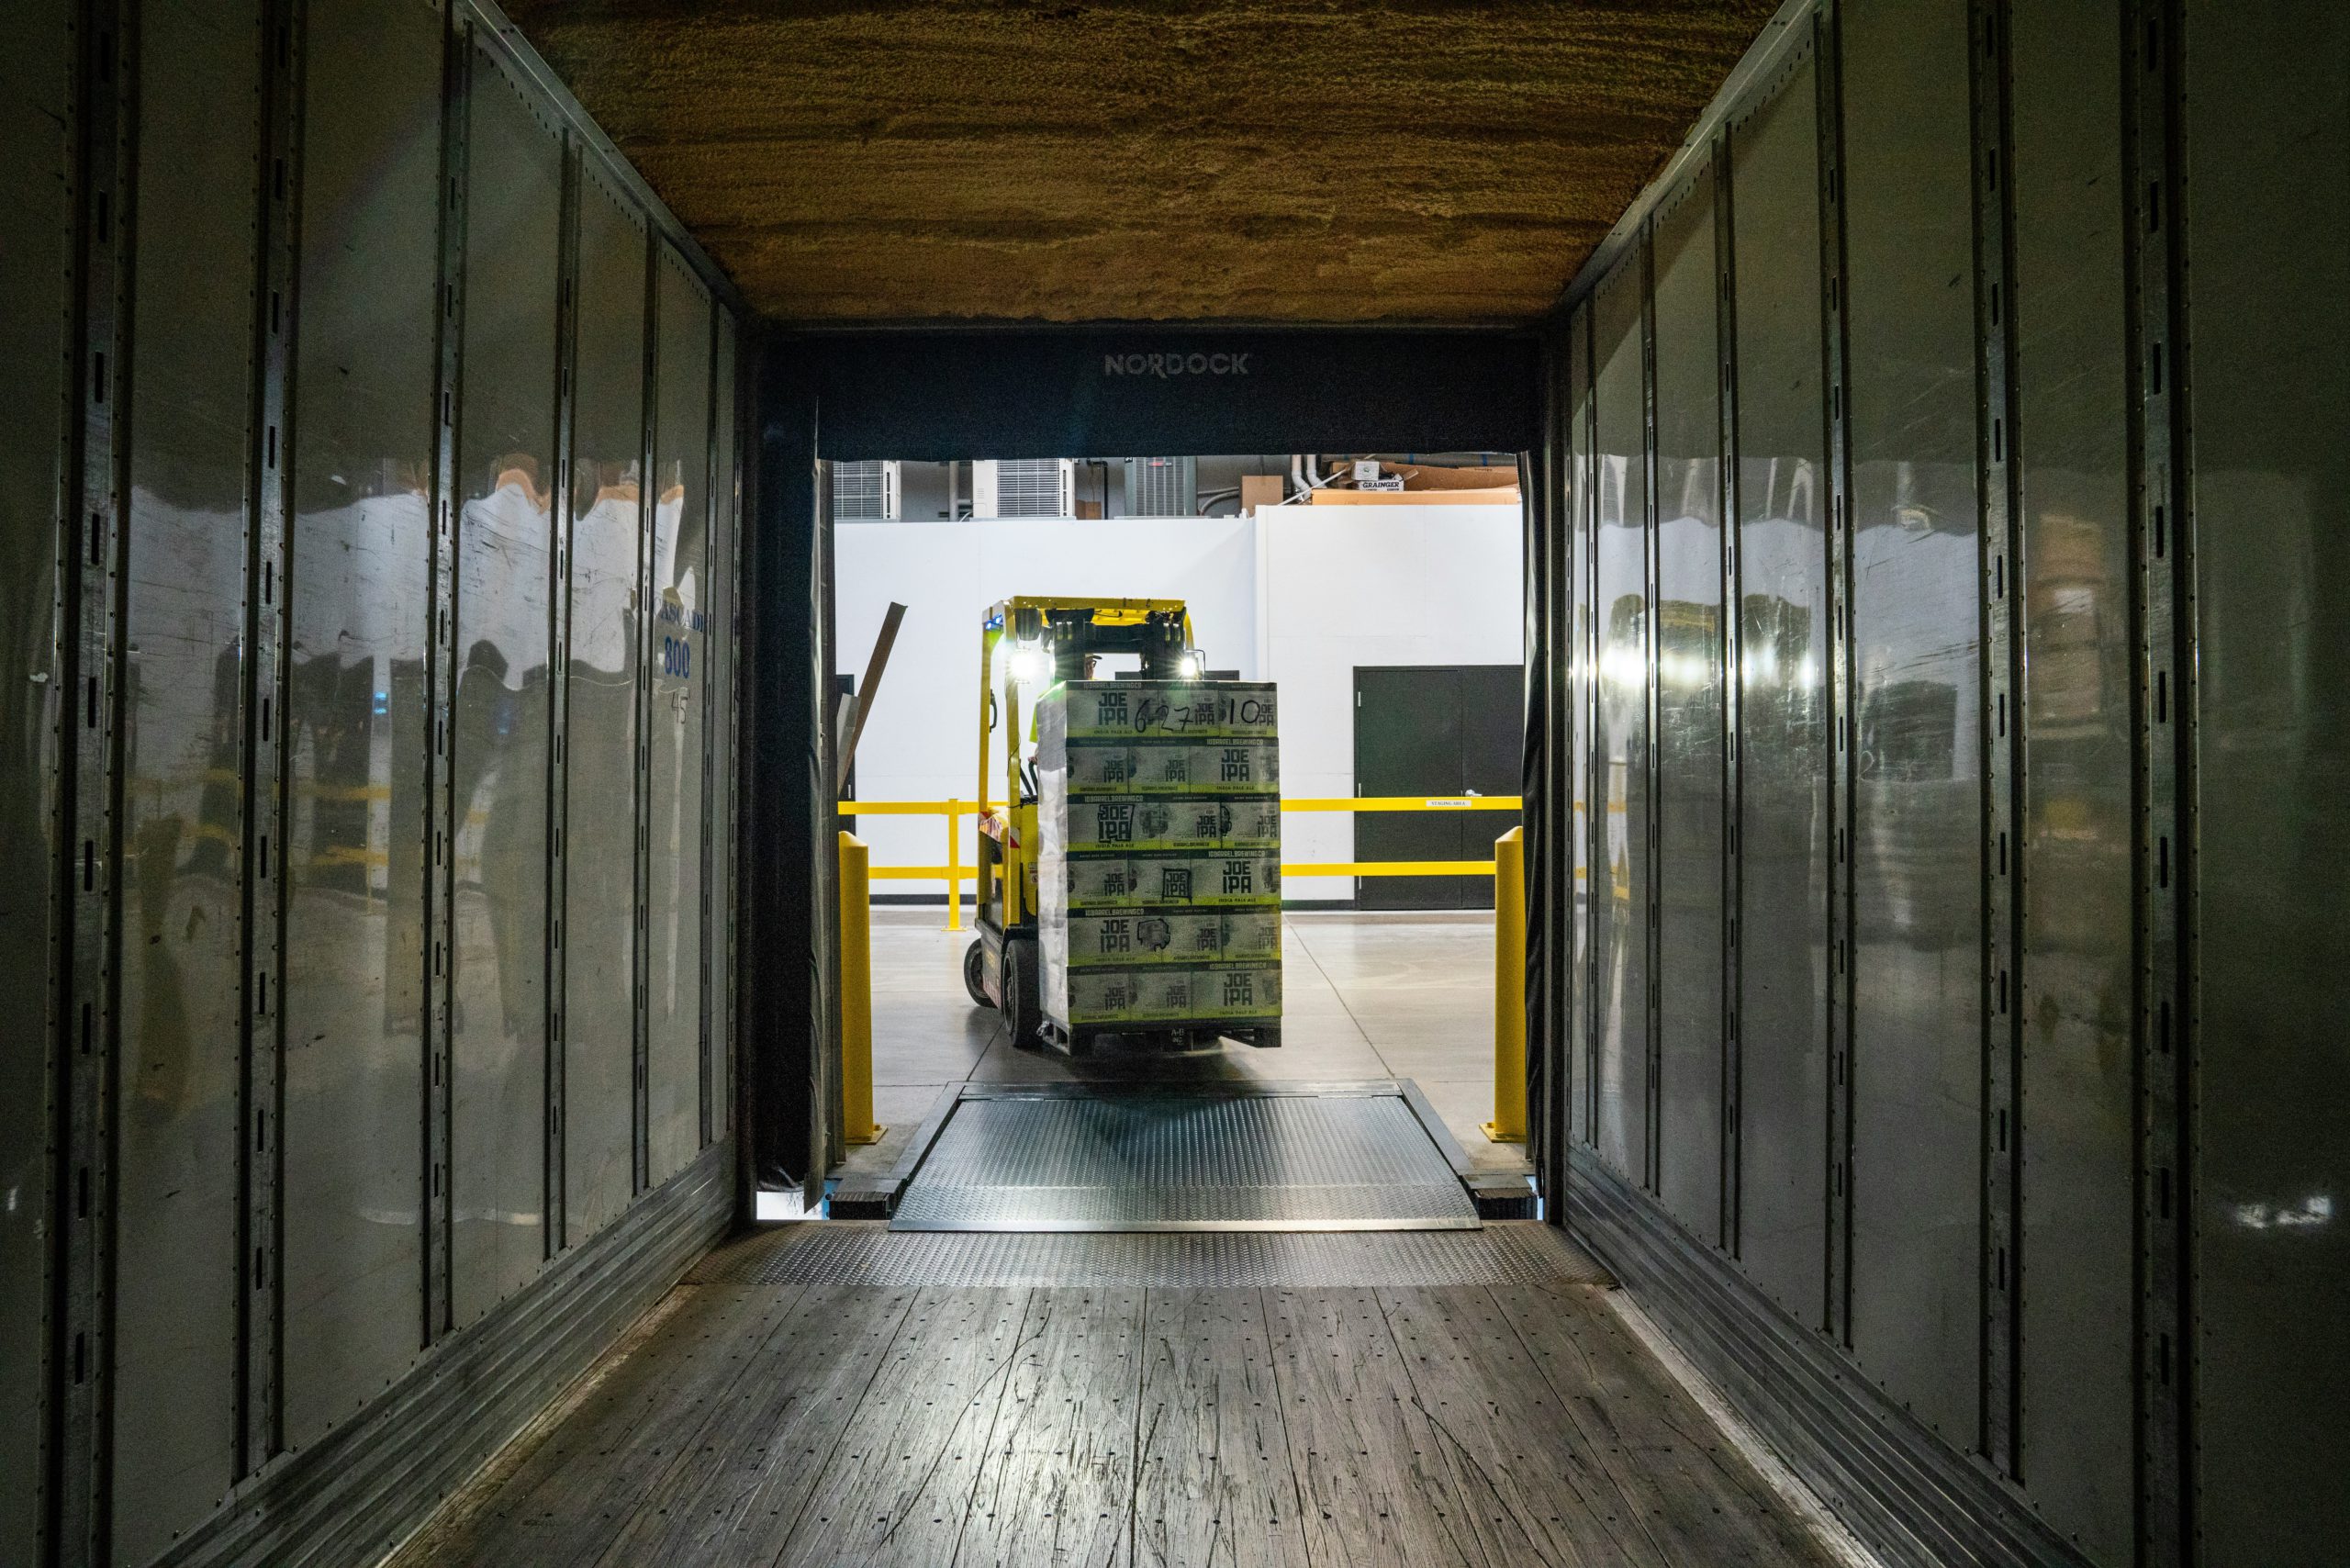
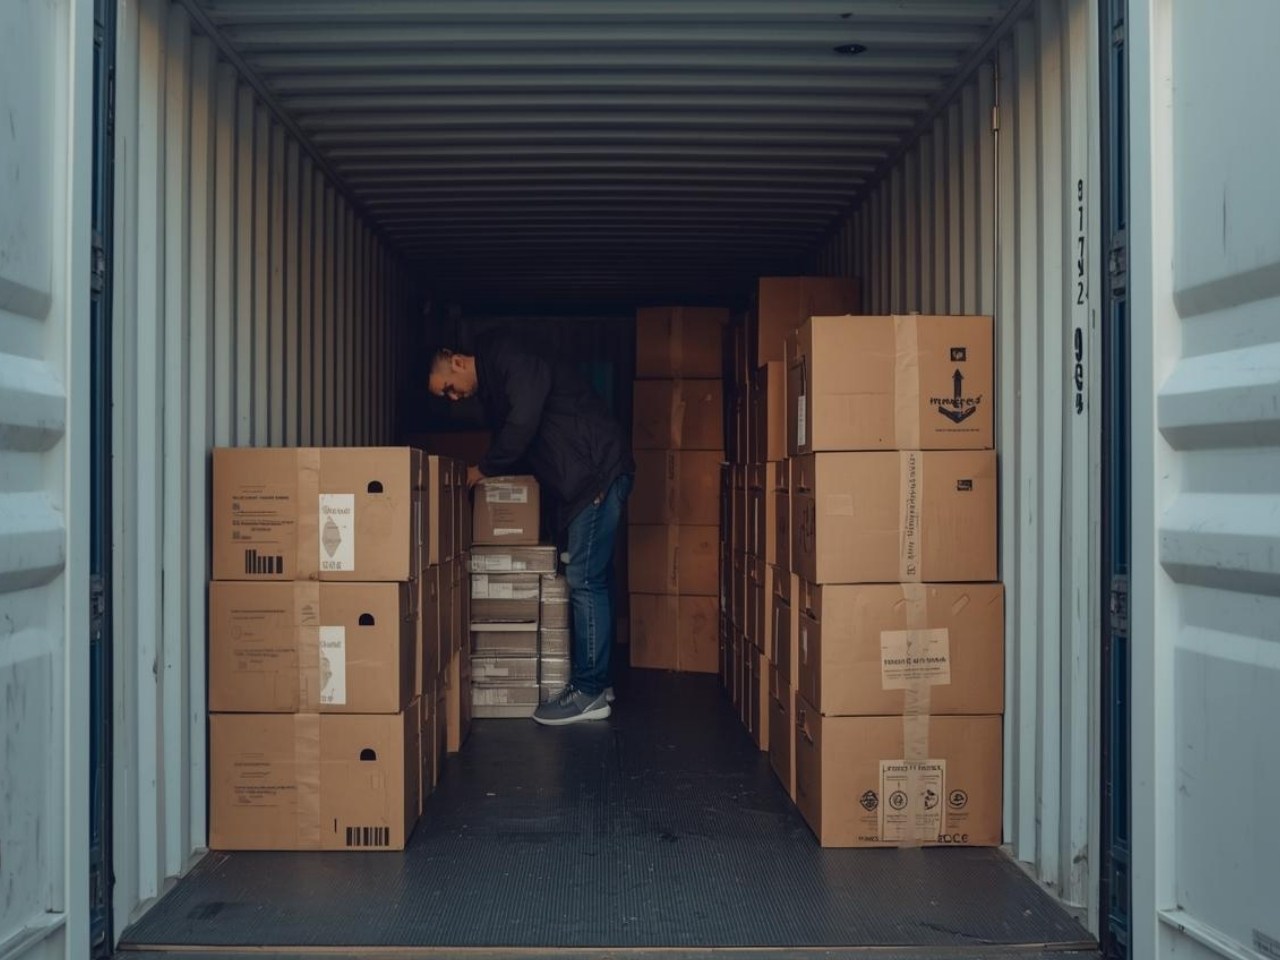
The holiday season is hectic for retail businesses—overflowing inventory, seasonal signage, massive deliveries, and not enough space. That’s where holiday storage solutions for retailers come in. At Rent-A-Container, we specialize in providing secure, temporary container rentals that help you manage your busiest time of year without missing a beat. Whether you’re a big box retailer, a pop-up shop, or somewhere in between, we’ve got the space you need to succeed. Why Holiday Storage Gets Complicated Between November and January, your regular back-of-house storage just isn’t enough. Most retailers face at least one of these holiday-specific issues: Overstocked seasonal inventory that won’t hit shelves until December Bulk shipments of promotional items or displays Limited backroom space due to staff or operations overflow Early-arriving January stock that has nowhere to go yet Rather than constantly rearranging pallets or jamming your storage room full, a container rental gives you breathing room—literally. What Retailers Use Containers For You’ll be surprised at how versatile a container can be for a busy retail location. Here are just a few holiday use-cases: Storing extra inventory (especially high-turn items like toys, gifts, and apparel) Holding pre-assembled holiday displays before rollout Stashing surplus packaging supplies and shipping materials Keeping bulky seasonal decorations or props secure Temporary overflow space for returns or post-holiday markdown items Need a container that’s easy to organize? Ask us about our Container 101 video series for shelving tips and layout ideas. Features That Make a Difference Our are designed to make your life easier. They’re wind- and water-tight, lockable, and available in multiple sizes to suit your space. Here’s what makes them perfect for holiday storage solutions for retailers: Fast delivery and pickup—you’ll have it when you need it, gone when you don’t 20′, and 40′ options for tight sites or large shopping centers Secure locking systems to protect inventory with additional locks available for rent or purchase Weatherproof build to keep cardboard, packaging, and any other materials safe Optional shelving kits for organization (ask us what’s available in your area) We also offer ramps and accessories to make loading and unloading easier during cold, icy conditions. Who Uses Holiday Storage Containers? We support all types of retailers and seasonal operations: Big box stores & regional chains needing extra space for overstock Pop-up holiday shops that need locked overnight storage Garden centers or outdoor retailers with décor and tools to protect Mall kiosks or outlets with limited space in back Bonus: Built for Cold Weather Our containers are built to handle Northeast and Midwest winter conditions. No warping, sagging, or leaking. You can store with confidence knowing your items are protected—even in freezing rain or snow. Final Thoughts: Make Holiday Storage Simple If your retail team is tripping over boxes or dreading the next truckload, don’t wait—add a container to your site before the season peaks. With flexible terms, fast service, and built-for-retail features, Rent-A-Container gives you the space to focus on what matters most: your customers. Ready to reserve a container? Reach out to Rent-A-Container today and we’ll help you choose the right size, schedule your delivery, and set your team up for success